Integrate Sentry into Your Azure DevOps Extensions to Capture Exceptions in Real Time

Recently I’ve been trying to improve the quality of my Azure DevOps Extensions and really wanted a way to see the exceptions occurring inside my tasks, so I can react quickly when issues come up rather than waiting for the users to post them on GitHub issues.
And I saw a tweet about Sentry by Buck Hodges.
https://twitter.com/tfsbuck/status/1049647569184464897
And saw Utkarsh Shigihalli’s tweet about implementing it in Azure DevOps Extensions.
So, I decided to try it out on my Slack Notification Extension for Azure DevOps. To get started you need to create an account on https://sentry.io You can log in using your GitHub account. Once you have done that you need to create a project for your extension. I am using TypeScript for writing my extensions, so I chose Node.js as the project type.
Add the name for the project and click on the Create Project button. We’ll come back to this portal. But now its time to add the npm package and the code to set things up.
Install the sentry npm package using the following command.
npm install @sentry/[email protected] --saveThen you need to import sentry into your code and initialize sentry with the DSN (Data Source Name) given when you created the project on Sentry.
import * as sentry from '@sentry/node';

sentry.init({
  dsn: 'https://[email protected]/1xxxxx1',
  release: '1.0.1'
});
You can get the sentry DSN from the page you are taken to when the project is created on sentry.
Or you can get the DSN in the Client Keys section in your Project Settings.
I have also included the release property with the version of the task I am releasing, which will let me know which extension version is causing the exceptions. I replace this value in my build pipeline with the release version I get from the triggered build.
Finally, you need to add the code to capture and send the exceptions to Sentry. In your error handling logic add the following line of code. Where that code is added is totally dependent on the implementation of the task.
try {

  // Your code

} catch (err) {
  sentry.captureException(err);
}
I wrapped the sentry logic inside of a Monitoring class for my tasks. It looked something like this.
import * as sentry from '@sentry/node';

import { IMonitoring } from './interfaces/IMonitoring';
import { SentryEvent } from '@sentry/node';

export class Monitoring implements IMonitoring {
  constructor() {
  }

  configure(): void {
    sentry.init({
      dsn: 'SENTRY_DSN',
      release: 'TASK_RELEASE_VERSION'
    });
  }

  captureException(error: any): void {
    sentry.captureException(error);
  }

  captureEvent(event: SentryEvent): void {
    sentry.captureEvent(event);
  }

  captureMessage(message: string): void {
    sentry.captureMessage(message);
  }
}
Once you have done this and published the task to the marketplace you should be able to see the exception information coming into the sentry dashboard if and when they happen.
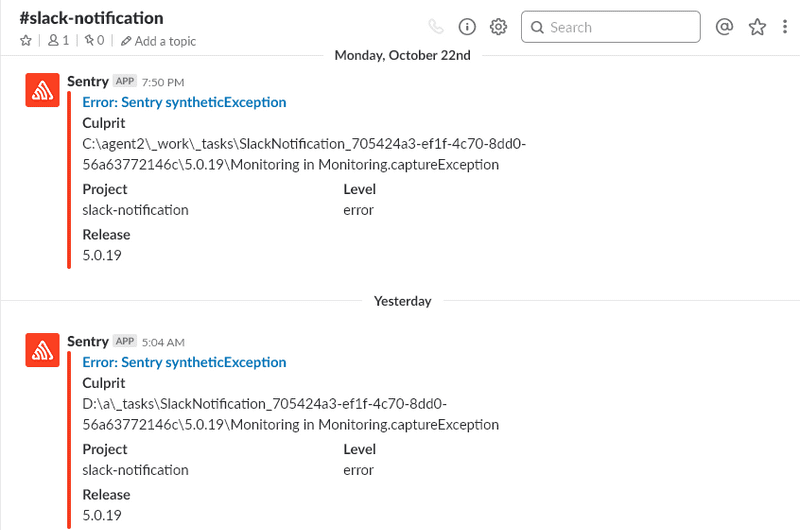
If you click on any of the recorded exceptions, you can view the full details of the exception. You can also integrate with Slack any many other communication channels so that you can get direct notifications when exceptions happen on your extensions.
You can find additional information from the Sentry Documentation.
You Might Also Like
← Previous Post
Next Post →


